5 Photoshop Tricks for Beginners
Photoshop is a vast program, packed with all kinds of sophisticated tools and functions to keep the professional photography world turning.
From a blemish removal to adding some impressive design elements, anyone can learn the basics of photos edit. There are some quick and easy tips you can take advantage of to improve your Photoshop experience. Here are some of favorite simple tips and tricks for Photoshop beginner.
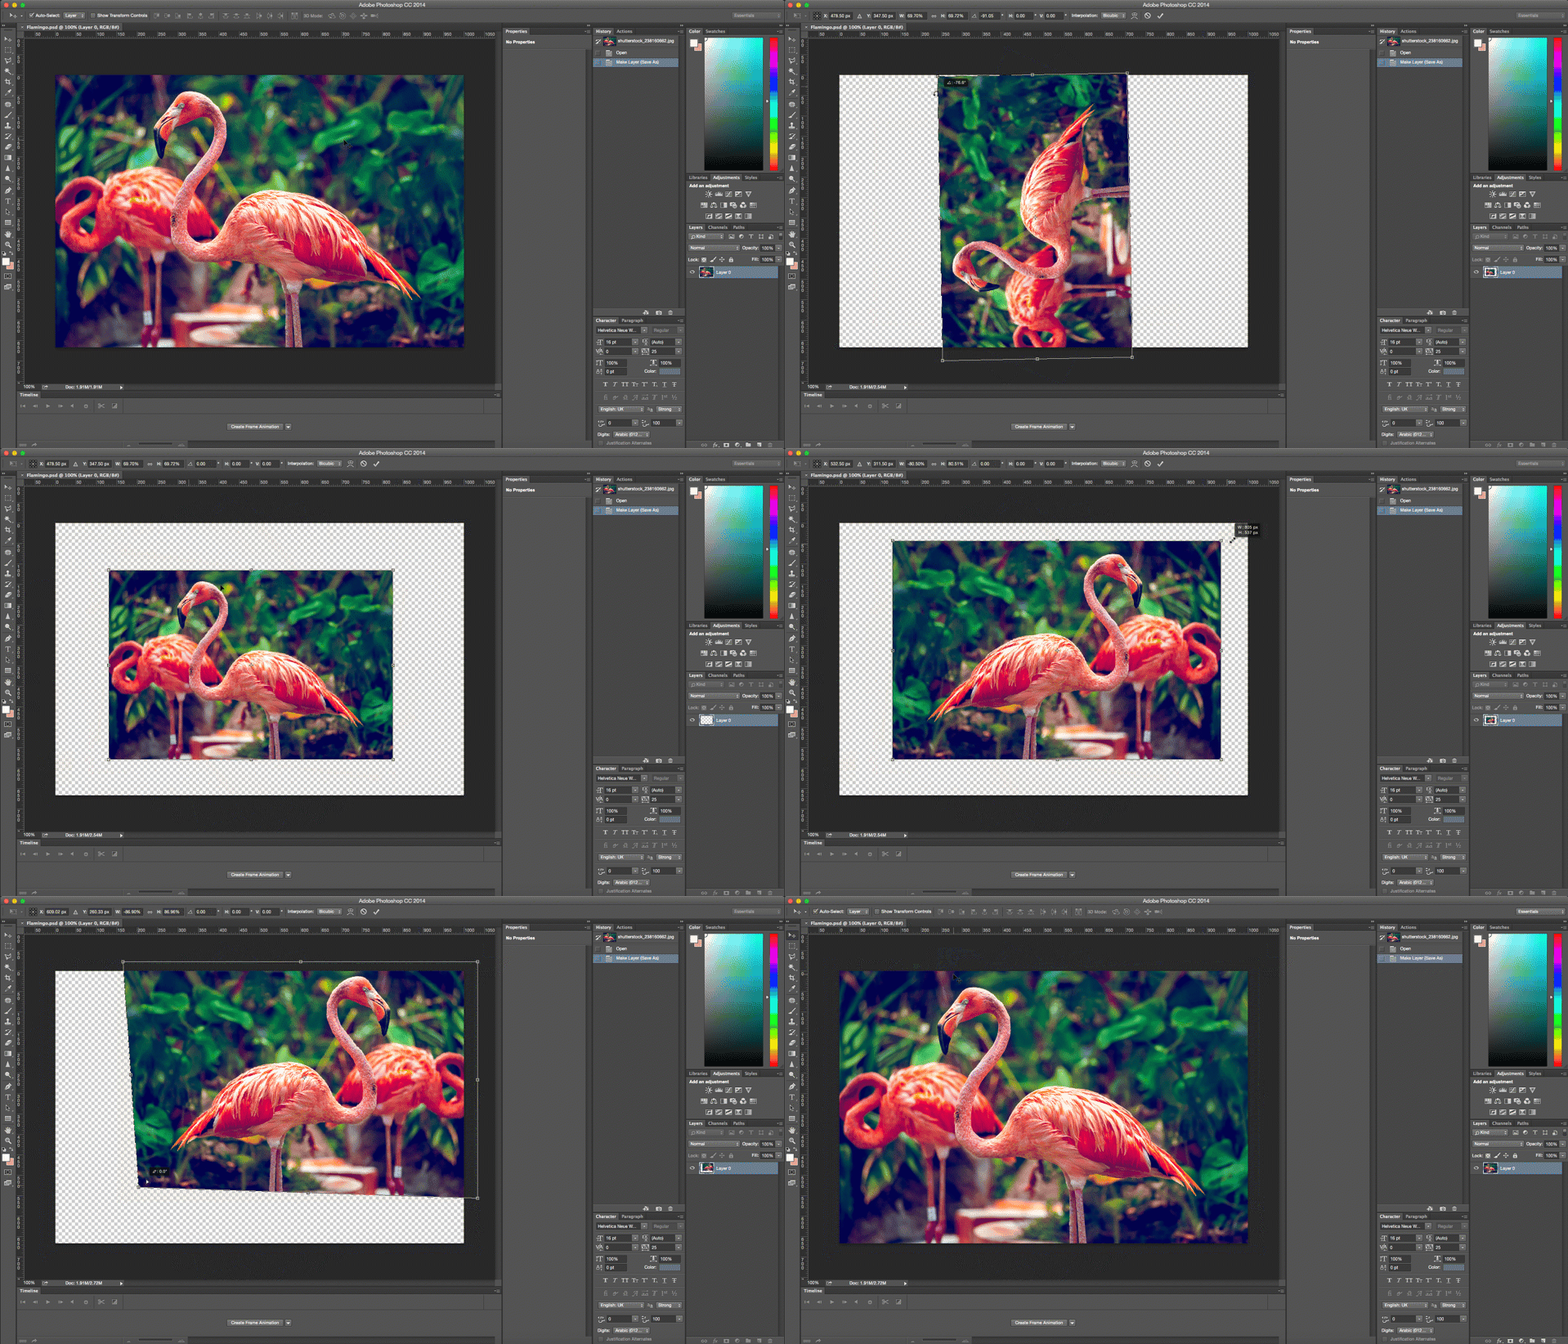
- Change the size of an image, rotate, flip or distort
Click Edit > then click Transform > and select the action you desire.
Or try these shortcuts to make life even easier: Press Ctrl + T on your keyboard and a bounding box will then appear around the image, indicating transformation. This means you can now resize your image. The best way to do so is by placing the cursor on one of the rectangle corners of the box and then dragging the corner while holding the Shift key. When you’re finished just press Enter and you’re done.
To flip your image vertically or horizontally press Ctrl + T and then right click your mouse. A popup window will appear with a few options for rotating and flipping the image. Select the action you want and when you are done press Enter.
To distort or skew an image press Ctrl + T and then place the cursor on whichever corner you want to distort. Press Ctrl while holding your mouse down on whichever corner of the image you’re looking to morph and drag it down to your desired point, finally press Enter to activate.
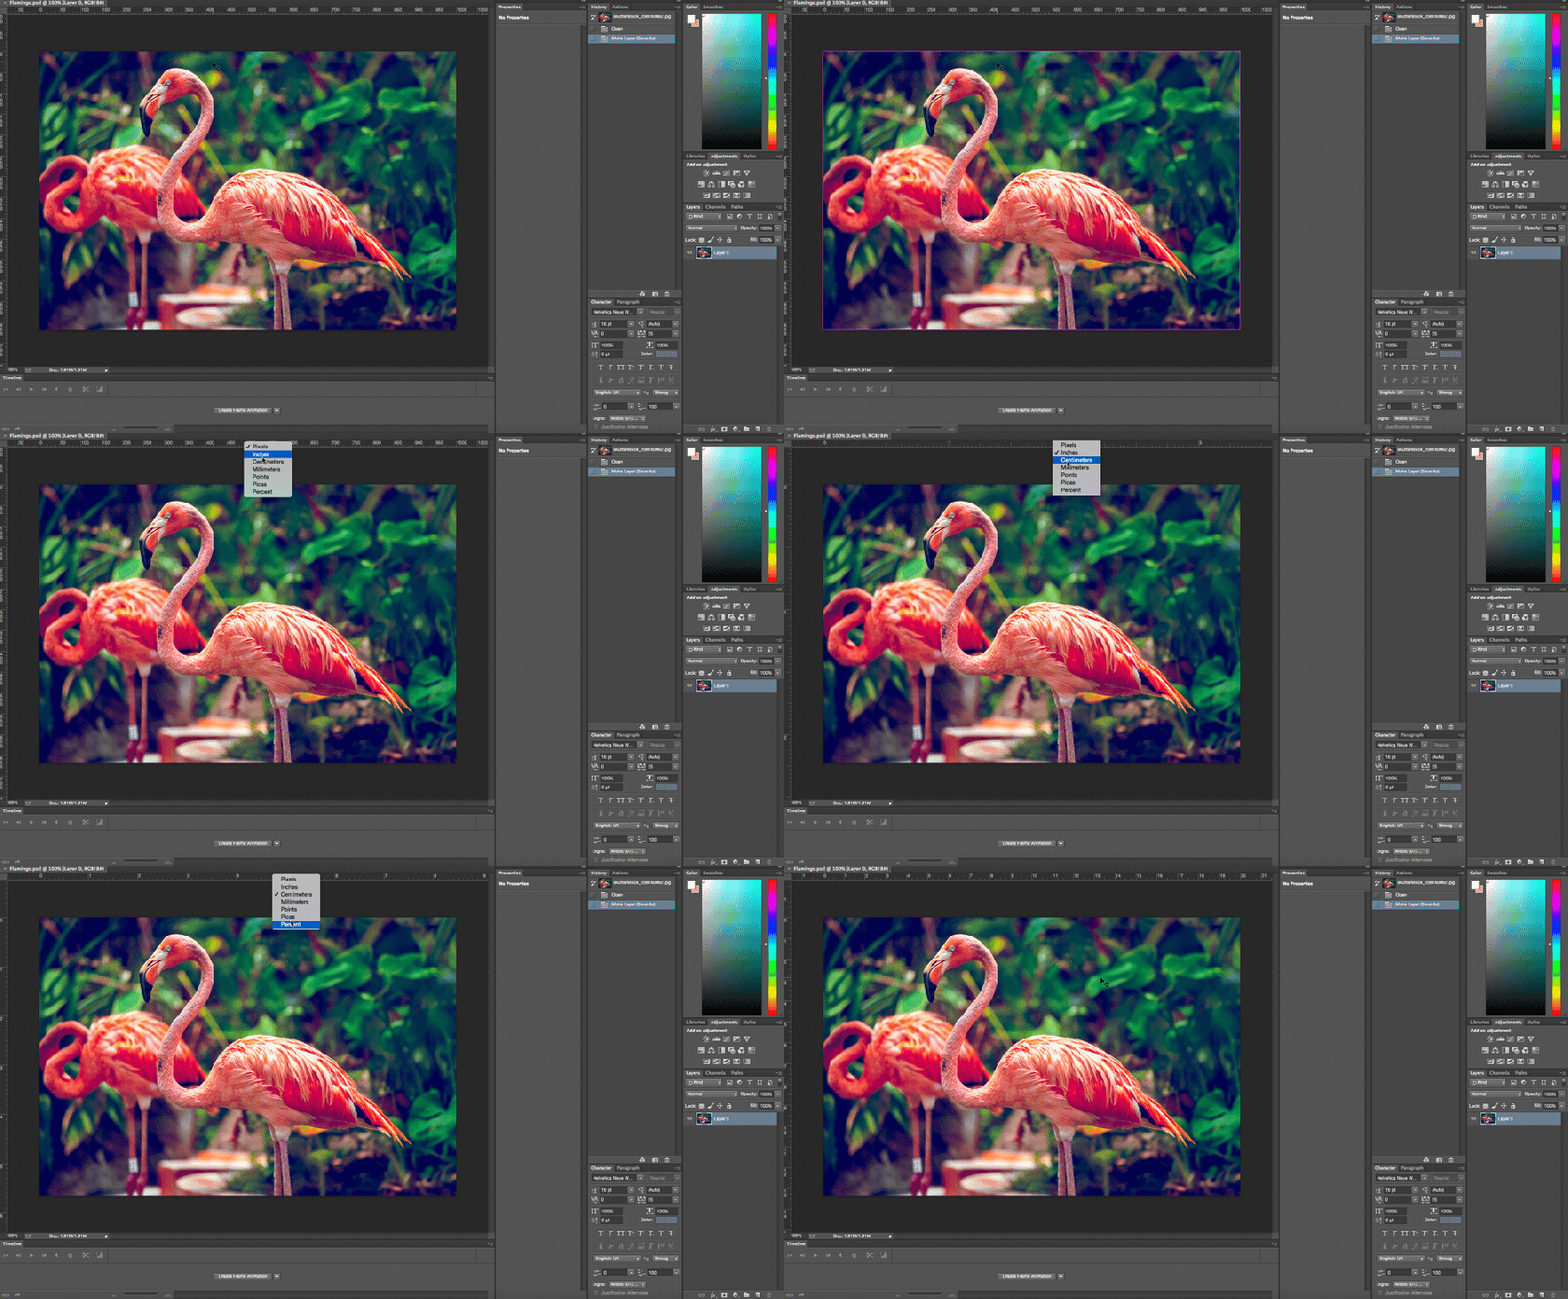
2. Change the Unit of Measurement
A short and quick way to switch between units of measurements that you’re working with is to place your cursor on one of the rulers on your grid (press Ctrl + R to show or hide the rulers), and right click, then choose a new unit from the context menu. There you’ll find a wide variety of units, from centimeters to pixels, millimeters, points and even percents.
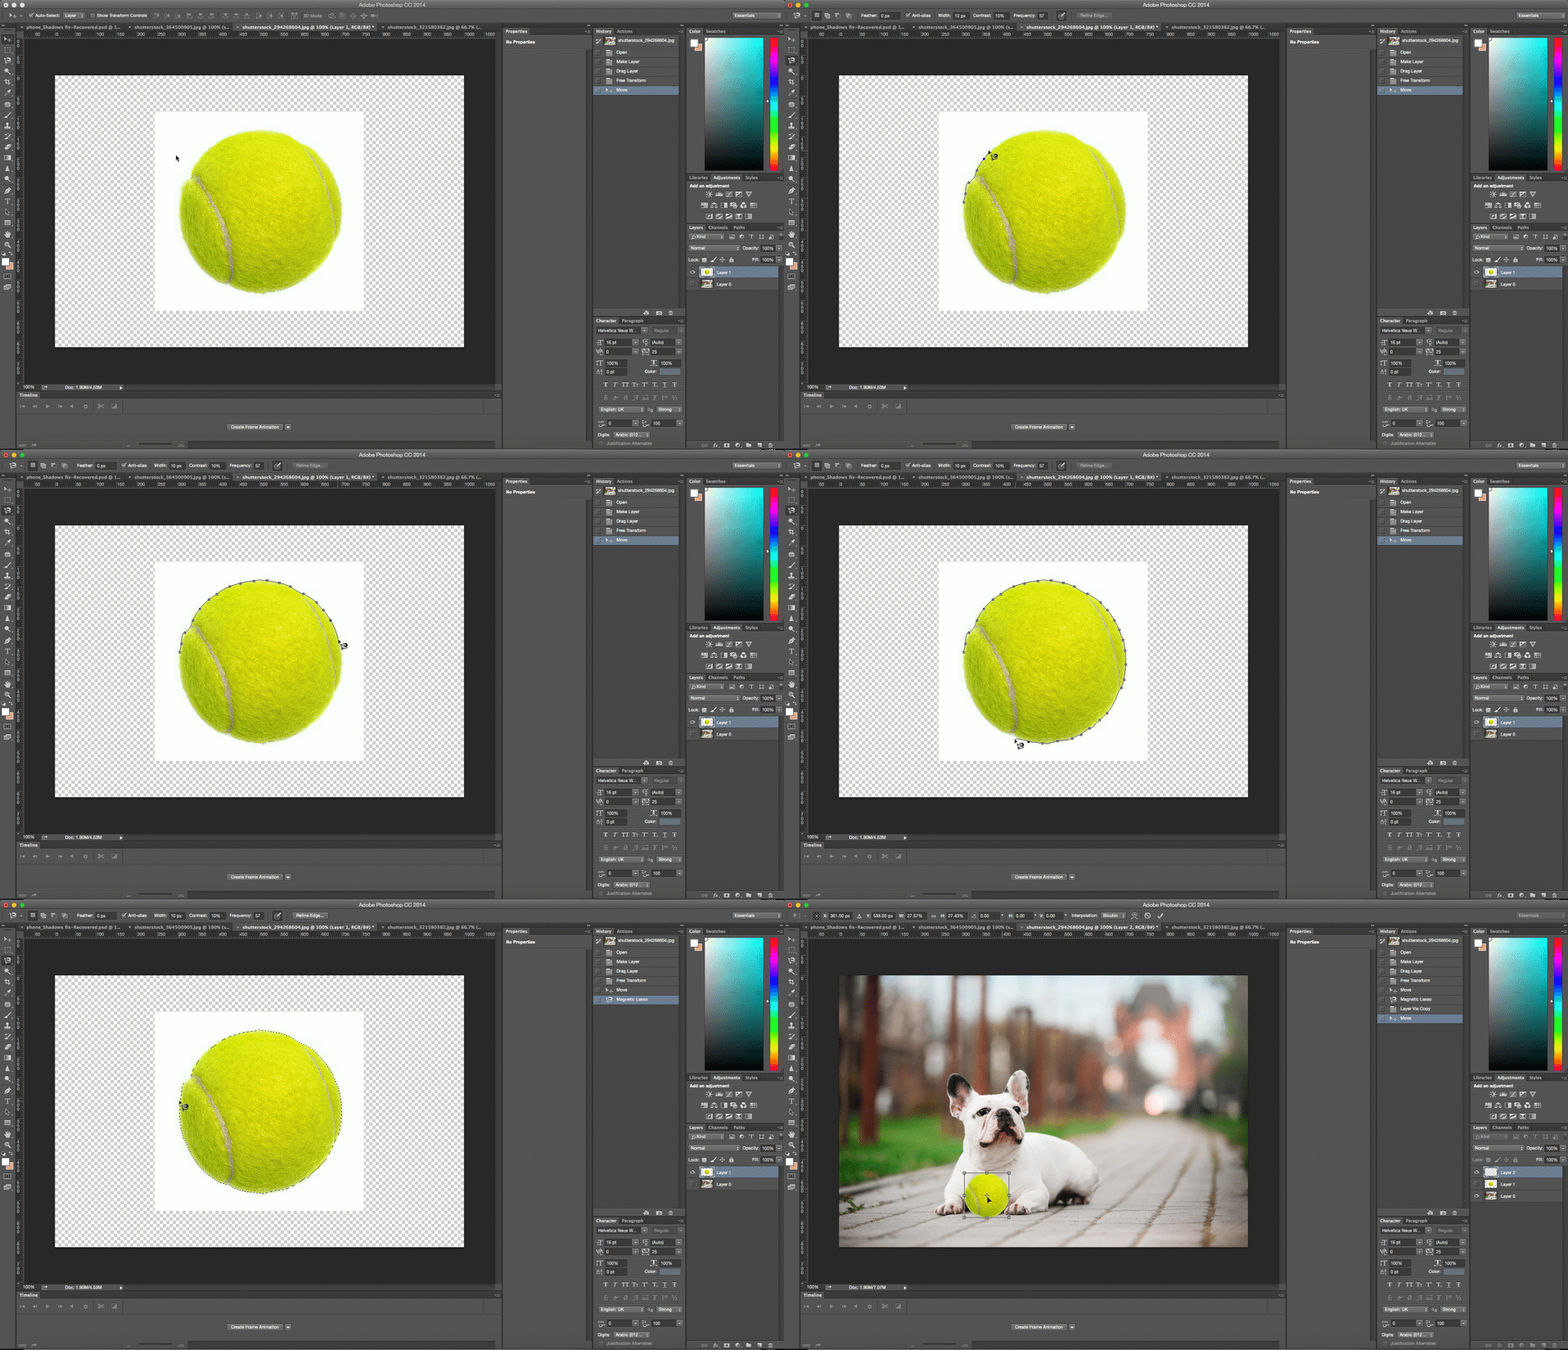
3. Use Magnetic Lasso Tool
This easy selection tool helps you trace and outline the exact part of an image that you’re looking to edit, and then separate it from the rest of your image in order to perform certain actions.
You can select and separate a product from its background. Nearly fool-proof, the magnetic lasso tool detects the edges of an object, so it works best when you have a bold contrast between an object and its background with well-defined edges.
To use the Magnetic Lasso, click and hold your mouse button down on the Lasso tool until a fly-out menu appears . The Magnetic Lasso is the last one with a small magnet on its icon. Select it and then go to photos editor and place your mouse on the edge of the part you want to alter. Click your mouse once, release and just go over the edges of the object you want to select.
4. Magic Wand Tool
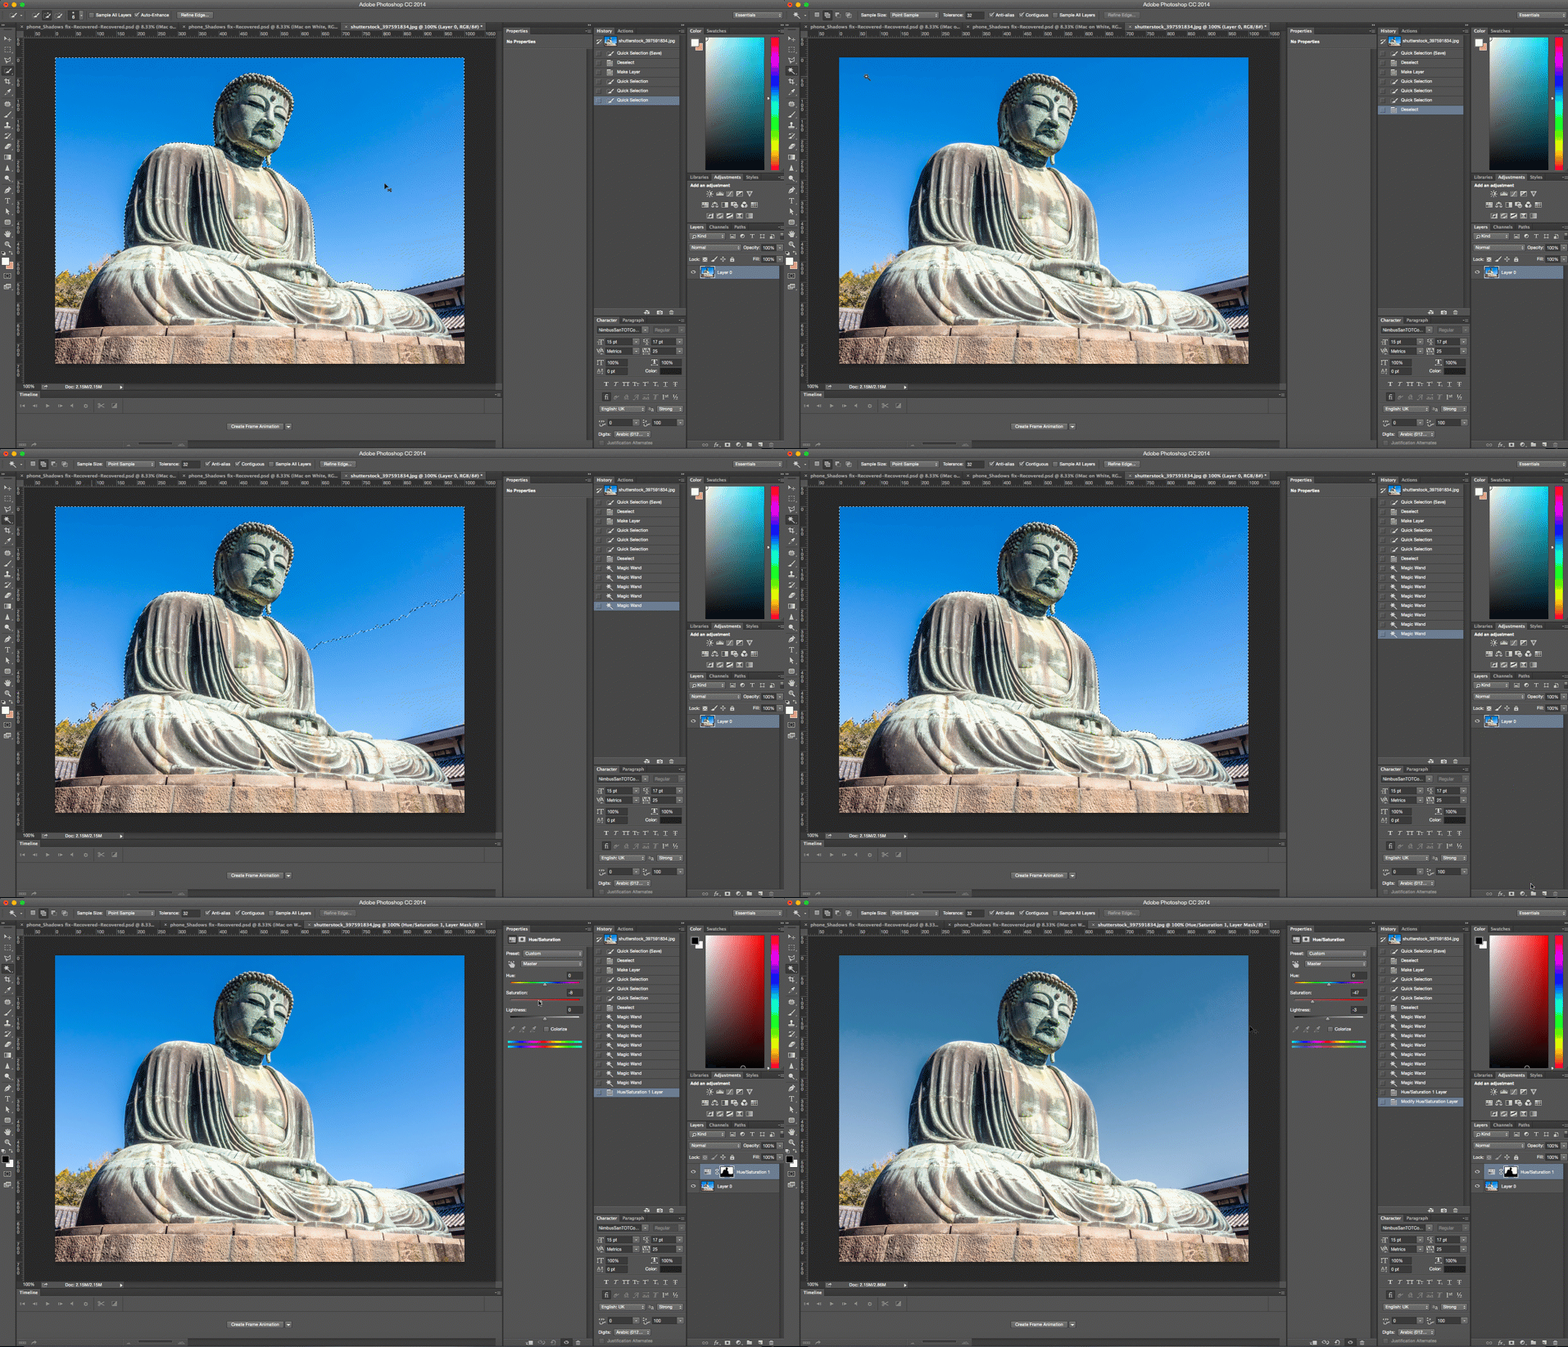
The Magic Wand is another selection tool, ideal for when you are working with a background that is more monotone and consistent (like a solid color or clear blue sky).
The Magic Wand tool is most often used to switch up backgrounds or large color blocks. To use it, choose the Magic Wand tool from the tools panel and click on the part of the image you want to select. Make sure that you toggled the “add to selection” option on the top bar (icon of two squares) so that you can move forward with switching up the colors and tones of your selection.
The Magic Wand tool is most often used to switch up backgrounds or large color blocks. To use it, choose the Magic Wand tool from the tools panel and click on the part of the image you want to select. Make sure that you toggled the “add to selection” option on the top bar (icon of two squares) so that you can move forward with switching up the colors and tones of your selection.
5. Custom Shape Tool
You can also easily add shapes and design elements to your Photoshop creations. The Tool Panel has all of the basic shapes you need like square, line, circle, ellipse etc in addition to a whole slew of extended options. The Custom Shape tool is easy to find in the Options Bar, represented by an icon that kind of looks like a puzzle piece.
Access even more shapes by clicking again on the small arrow on the right side of the panel. If you are looking for banners, speech bubbles or arrows of all kinds, this is just the tool for you.
Access even more shapes by clicking again on the small arrow on the right side of the panel. If you are looking for banners, speech bubbles or arrows of all kinds, this is just the tool for you.
6. Adjustment Layers
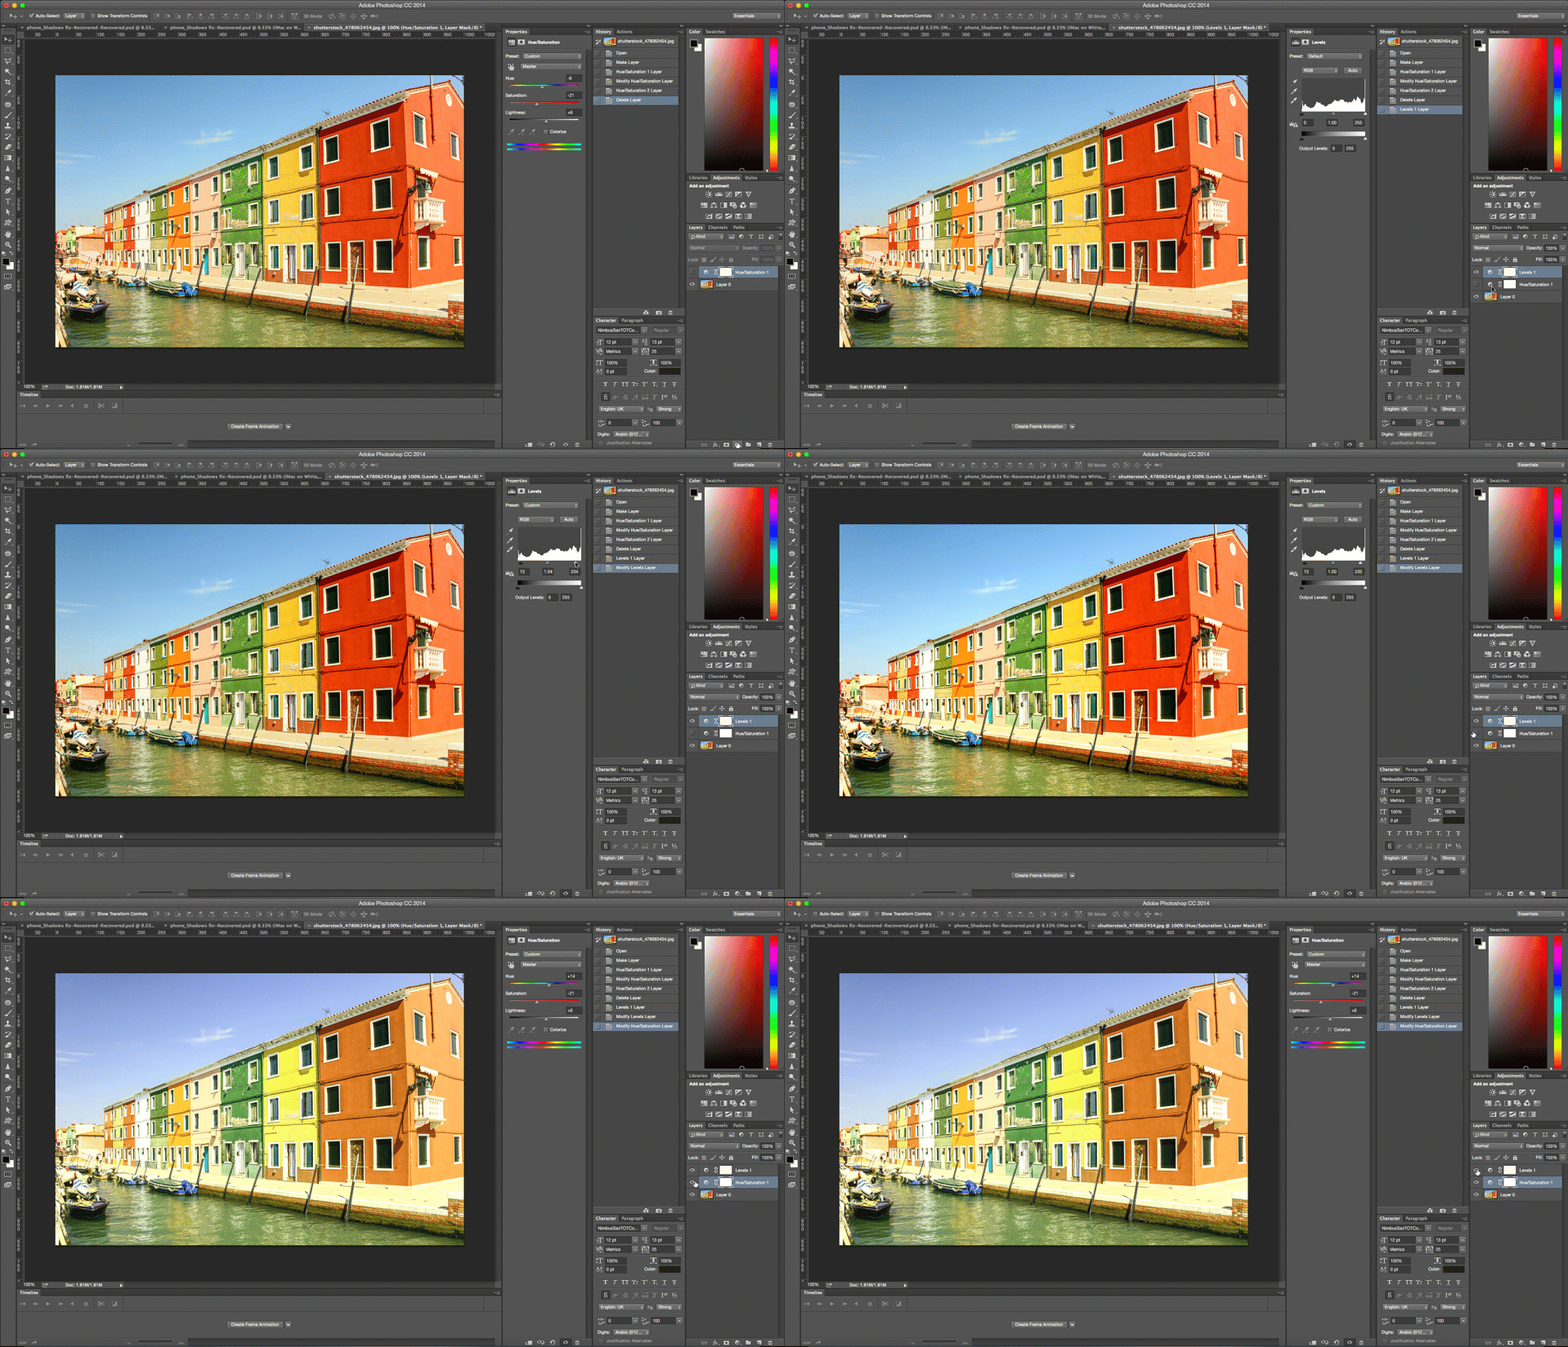
A truly stunning image generally has more to it than meets the eye. That’s what makes the Adjustment Layers tool so important. The Adjustment Layers tool lets you adjust the color and hue of your image by adding a top layer to it.
The best part about this feature is by adding that extra layer, you can totally reverse your changes while keeping the rest of your image intact. You will find Adjustment Layers in the bottom of the the Layers Panel (a black and white circle icon).
use photos editor: http://photoshopalternative.com
Comments
Post a Comment