Color Space in photoshop
When you import a RAW file into Lightroom’s catalog (And you should be shooting RAW!), there isn’t any option for you to choose which color space you will be working in. When we edit RAW image data in Lightroom’s Develop module, the software is working in a color space very close to ProPhoto RGB. It is a variation which is called Melissa RGB and the technical differences or similarities between the two are outside the scope of this article. Simply put, Lightroom is working in the ProPhoto RGB color space for all we are concerned – the widest color space available. Widest simply means the most colors. And in this case, we are talking MILLIONS AND MILLIONS AND MILLIONS! In fact, many of these colors are “theoretical” and scientific – the human eye cannot even distiguish many of these colors.
That being said, it is very simple and understandable that we want to use ProPhoto RGB as the color space. Why would we not want the most available colors to work with? It is true that the WEB and most of our displays, even the high Resolution Apple Retina displays, are sRGB displays. They don’t have the wide color gamut of Adobe RGB and certainly not the millions upon millions of colors that ProPhoto RGB contains. So why not select sRGB? The answer to that is – WHY would you? The file is the file. We aren’t exporting this to the web or print just yet. So it is best to keep all those colors even though we cannot see them. Remember, when you export your files from LIGHTROOM to the web, you THEN have the option to export to sRGB and at that point you probably should since the WEB works in sRGB and many printers work best with sRGB files. This is changing, however, as many 8 and 12 ink printers now offer color gamuts that are greater than even the Adobe Color Space. The more saturated the colors, the bigger color change you will notice when exporting out to file and sRGB (explained later). Eventually, through technology, we will hopefully have displays and printers that will display and print ProPhoto for the full color range available.
But what we are discussing here is bringing the RAW file with edits applied to a PIXEL based editor so we want all the information, including color, as we can get. After all, if you work on a file ONLY in Lightroom and export it, you’re basically working in ProPhoto and then putting it out to file.
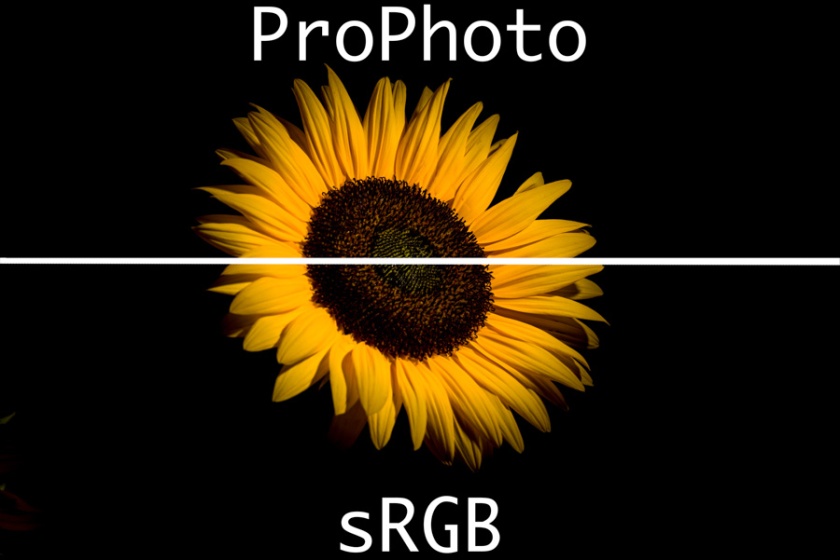
Here is an example. This contains a layer on top that was exported to Photoshop with ProPhoto Space (TOP) and sRGB (Bottom). You will be hard pressed to tell the difference here. When in Photoshop, you can just barely see the ProPhoto file as having slightly more color – especially in the rich and saturated colors. Here, with strong compression, it may not be possible to see any difference. Which begs the question – why not just use ProPhoto Color Space? You should!
Source: Internet
Our web: http://photoshopalternative.com
If u need a free photoshop alternative that give you a productive solution, photoshop online will be a great option.


Comments
Post a Comment