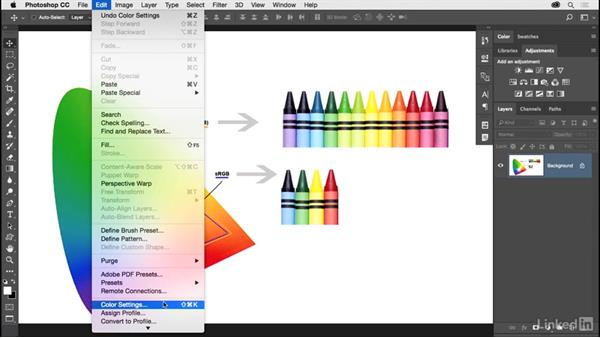
PHOTOSHOP COLOR SETTINGS
After making the RAW file edits in Lightroom, we select from the PHOTO menu option “EDIT IN > Photoshop CC ### (Current Version)” or simply hit CMD or CTRL E to send the file to Photoshop. Now once here, it is imperative that we have Photoshop set up to accept the file into the working area with the proper settings.
They are as follows:
For the Working SPACES, under RGB, set it to ProPhoto RGB. You can leave CMYK set to this setting – we are not concerned with this right now (You may want to contact your commercial Printer to ask which setting they recommend). GRAY can be set to 1.8 because this is what has been recommended as the best option when working with ProPhoto RGB. Sean Bagshaw is a top photographer who recommends this in his training series dealing with Luminosity Masking.
Color Management Policies can be set as such but it is personal preference if you are asked when Opening or Pasting.
Under Conversion Options Engine set to Adobe (ACE) is to be left this way.
Intent is set to Relative Colorimetric by default and that’s fine for graphics and design work but for continuous tone photographic images, Perceptual is the best setting to use, especially in regards to digital photography.
Those are all the settings you need for Lightroom and Photoshop to work together in perfect harmony in a professional RAW, 16 BIT workflow.
Source: internet
If u need a free photoshop alternative that give you a productive solution, photoshop online will be a great option.

Comments
Post a Comment